So here is the first of those! These are my tips for what to wear for a newborn/baby portrait photo session.
It's all about co-ordinating and complementing!
A while ago I wrote a blog post with general advice on what to wear for a portrait photo session and I promised that I would write some more specific guides for the different types of session I offer. So here is the first of those! These are my tips for what to wear for a newborn/baby portrait photo session. 
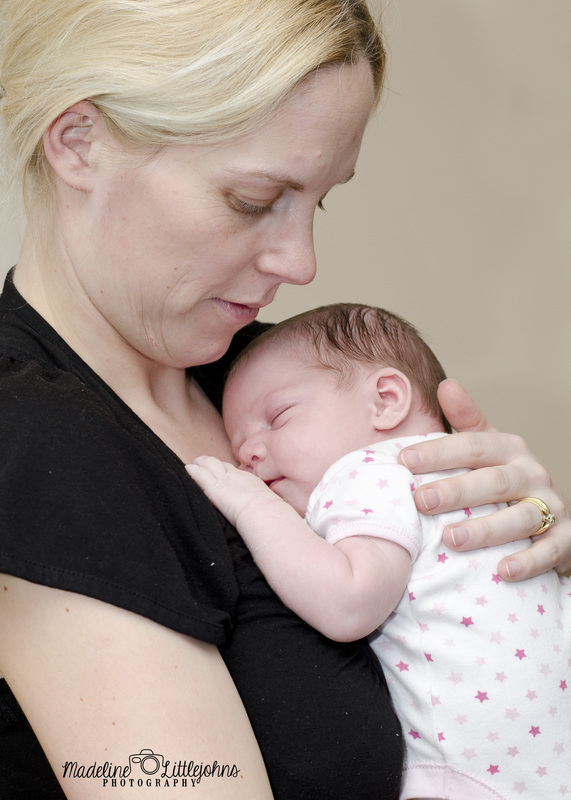
It can often work well to keep your outfits really plain and neutral. This keeps the focus on the baby and the relationship between you. 
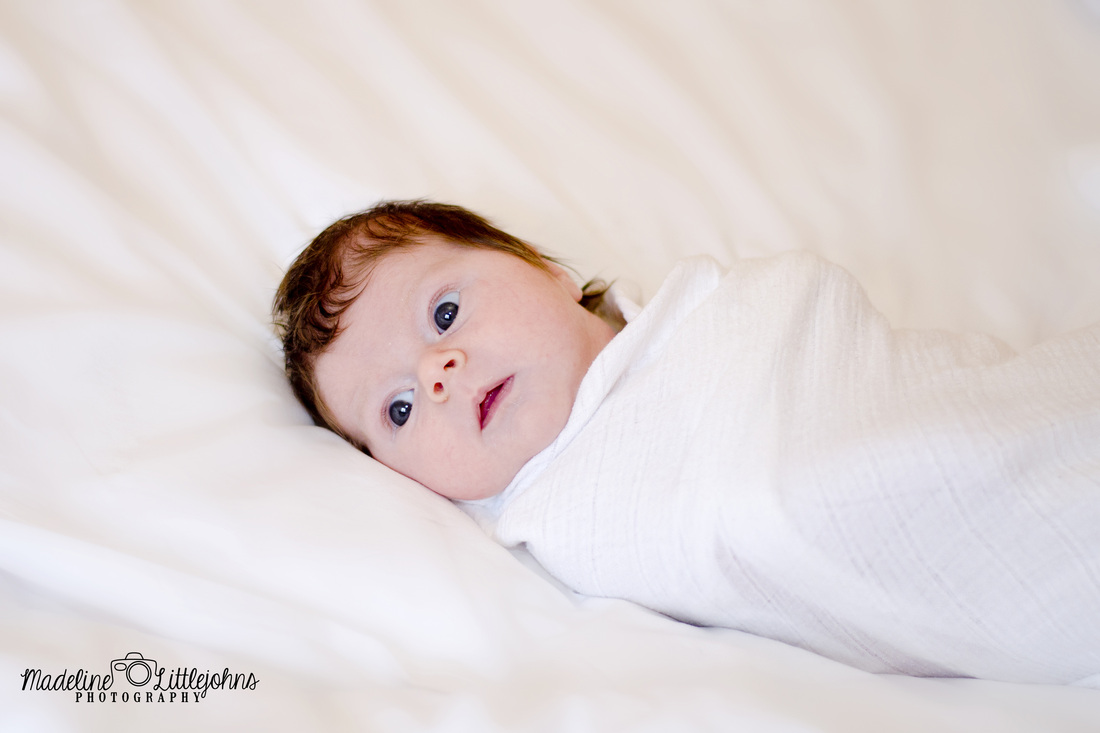
If you're after a clean, simple look for the portraits of your baby then it can work really well to simply wrap them in a blanket or muslin. If you want a brighter look to your pictures then you can use any colour of blanket that you like, just keep in mind where you might want to display your images when you make your choice! 
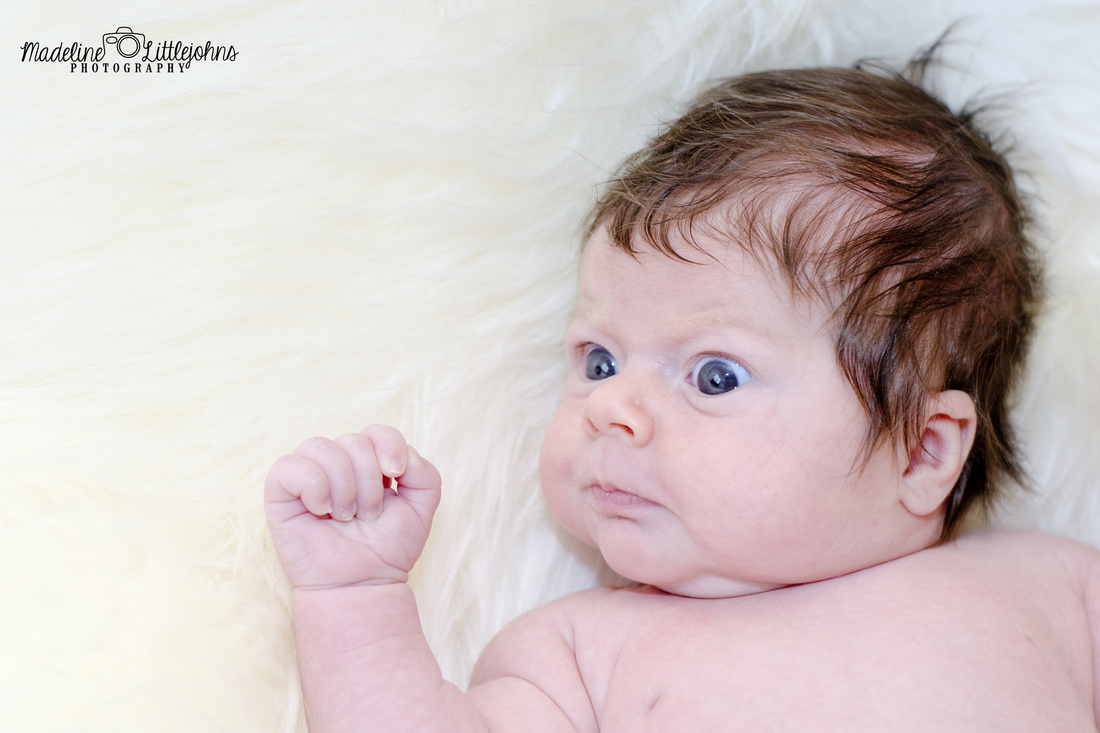
Another option for baby is to have them wear nothing at all! There's nothing quite like chubby baby wrists and podgy tummies and this gives a really natural feel to the images. If you're putting baby in a neutral colour then it's normally best if you keep your own clothes neutral too. You want to co-ordinate but not match. Look for clothes in colours that complement each other, like the soft creams and greys in the photo above. 
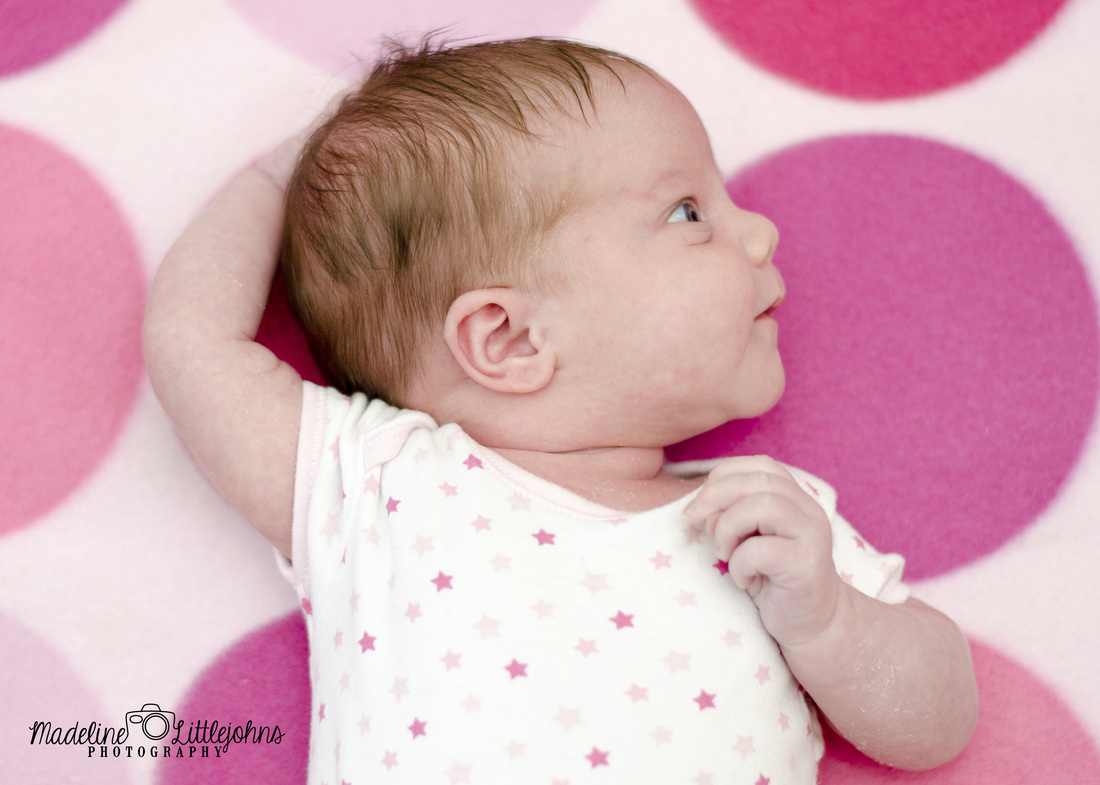
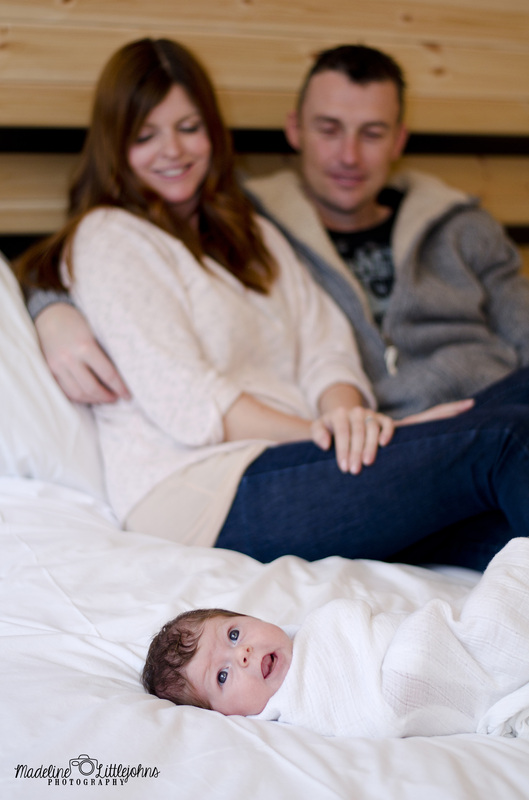
Of course, you're not obliged to go for a soft, neutral look. If you prefer colour then go for it! Just remember to think about co-ordinating everyone's outfits and the backgrounds you might be using - look at the way Hannah's babygro matches her blanket - perfect! 
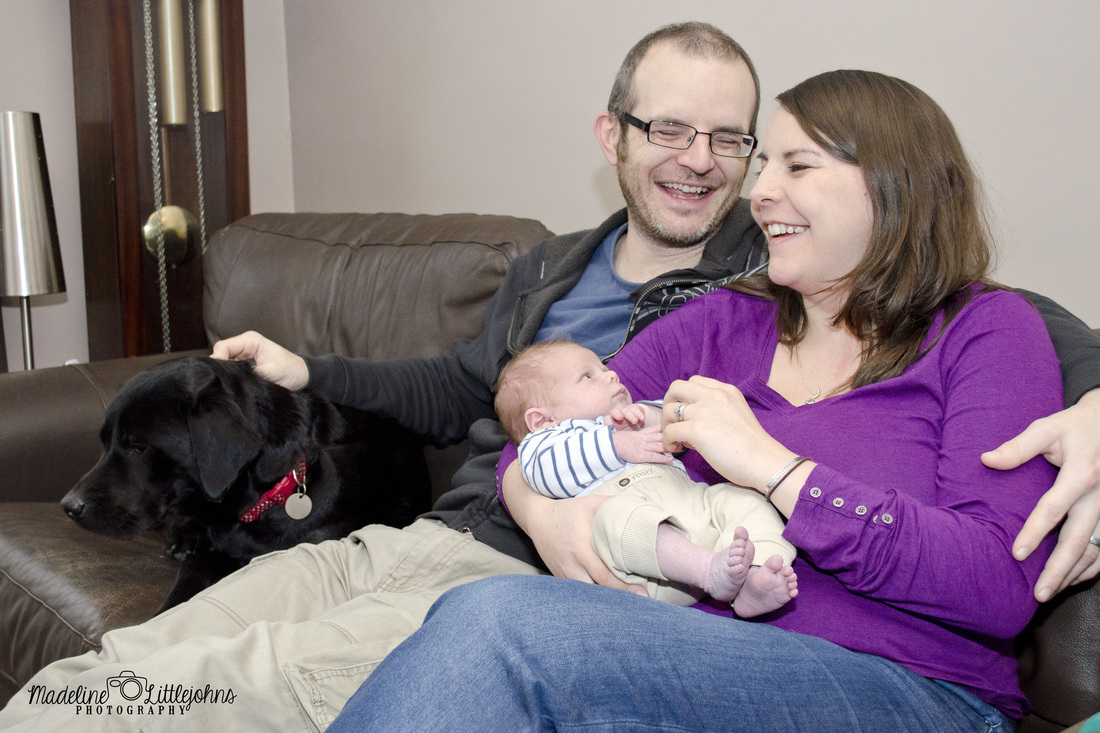
And see how the clothes Kim, Andy and Teddy are wearing all complement each other, with the blue stripes on Teddy's top matching his Dad's t-shirt and co-ordinating with Mum's jeans. It's all about co-ordinating and complementing! I hope this gives you some inspiration when it comes to planning your newborn or baby photo session. Please leave me a comment and let me know what you think!
0 Comments
It's been a particularly wild, wet and windy day here in Swansea today as St Jude's storm has started to arrive, so I didn't think it was really a day to head out to the park or the beach. Instead Rhys and I have hibernated, cwtched up in the warm and watched plenty of Sarah and Duck. And this afternoon I decided to dig out all our art supplies and have a go at some Halloween crafts, seeing as it's just around the corner. I drew some pumpkin shapes for him to colour in with orange paint, stamps and felt tips. Then we added some googly eyes and black card for the nose and mouth. I think they came out quite well! We also made some hand-print ghosts and some simple painted ghosts, again with googly eyes. Are you sensing a theme here?! The googly eyes went down very well with Rhys! I had hoped we could do more of the hand-print ghosts but Rhys really wasn't sure about getting the paint all over his hands. After we'd finished my 'organised' activities I let Rhys get creative and he had great fun making a mess with glue, paint, feathers and eyes! He also showed how his imagination is developing by painting some lovely black squiggles and telling me they were snakes! And is it just me or does the snake on the left here look slightly dubious?! We had so much fun making these Halloween crafts together; leave me a comment below and let me know if you make anything similar with your toddler or child this Halloween, I'm always looking for new ideas of things to make with Rhys!
With Autumn in full swing and the nights starting to close in I decided it was time to bake something yummy to brighten things up! I went searching for something seasonal and found this Delia Smith recipe. I adjusted it slightly to fit what I had in the house and realised once I'd started that my scales were broken (thanks Rhys!), but I pulled out my Russian doll measuring cups and was raring to go! So, without further ado, here is the recipe:
First, preheat your oven to 180°C, gas mark 4 (I have a fan oven so set it to about 150°C). Sift the flour, baking powder, mixed spice and cinnamon into a big bowl. Gotta be honest here, I didn't actually bother to sift mine, I just plonked it in the bowl. Didn't seem to do the cake any harm! Next you need to get your apples ready. Delia says in her recipe that you can leave the apple peel on but I decided to take it off mine, and then chop them into small dice. There's really no need to be too precise with this. My apple pieces were between half a centimetre and a centimetre big and they were anything but perfect cubes! Once you've diced the apples, pop them in a bowl and toss them in a tablespoon of the flour mixture. Add the eggs, stork (or butter if that's what you're using) and sugar to the big bowl of flour and spices. Mix it all together until it's a smooth, creamy consistency. I just did this with a wooden spoon but you can use an electric mixer if you have one. Add the chopped apples to the mix. If, at this point, the mixture seems a little bit dry you can add a tablespoon of milk. I just want to mention that my mix looked very apple-heavy and I really wasn't sure if that was right, but trust me, it's ok! Pop all of the mixture into your greased and lined baking tin and level it off with the back of a spoon. Then put it in the middle of the oven for about an hour, or until it feels springy to the touch. Mine was in for just over an hour and came out just perfect! Leave it to cool in the tin for about ten minutes, then turn it out, slice and enjoy! If you're a fan of bramley-apple-anything then I'm pretty sure you'll love this! And it's just perfect with a cup of tea on a cool, Autumn day. Here's the recipe again for quick reference: Bramley apple cake.
1. Get a 20cm round tin and butter the inside and line the base with greaseproof paper. 2. Pre-heat the oven to 180°C, gas mark 4 (I have a fan oven so set it to about 150°C) 3. Sift the flour, baking powder, mixed spice and cinnamon into a bit bowl. 4. Peel the apples, if you want to and chop them into small dice. Don't worry about being precise with this, just chop them up quite small. They don't have to be uniform! 5. Pop the diced apples in a bowl and toss with a tablespoon of the flour mixture. 6. Add the eggs, stork (or butter if that's what you're using) and sugar to the rest of the flour mixture and mix it all up until you get a smooth, creamy consistency. 7. Mix in the apples. 8. If the mixture seems a bit dry at this point then stir in a tablespoon of milk to loosed it up. 9. Spoon the mixture into the prepared tin and level it off with the back of a spoon and pop it in the oven. 10. Bake from about an hour or until it feels a bit springy when you poke it! 11. Let it cool in the tin for about 10 minutes and then turn it out, slice and enjoy! Please let me know what you think if you have a go at making this! I think that kids will love it as the apples are so nice and sweet. Mmmmm, think I might need to add some more bramley apples to my shopping list this week!
|
Lifestyle and Beloved portrait photography in Swansea, Wales.
Your life. Your love. Your story. About me!Hi! I'm Madeline Littlejohns. A portrait photographer, based in Swansea, South Wales, specialising in on-location maternity, baby and family Beloved and lifestyle photography. Be the first to hear about special promotions and session information by signing up for my newsletter.
Categories
All
Archives
April 2016
|